 |
| Aubrey~ 1 year~ 2005 |
This project is easy & fun to do. It is great for special memories that you want to scrapbook, or as gifts. This is an awesome way to share your memories with loved ones!
Materials needed:
2-4 lunch size paper bags
Scrapbook paper
Scrapbook embellishments and ribbons
Stamps and inks
Pictures
Scrapbook safe adhesive
Scrapbook or wooden tags

Directions:
* Stack all the bags together alternating the direction of the opening (every other bag should open to the left or right)
* Fold the stack of bags in half, hole punch the folded edge 2-5 times to bind together when finished.
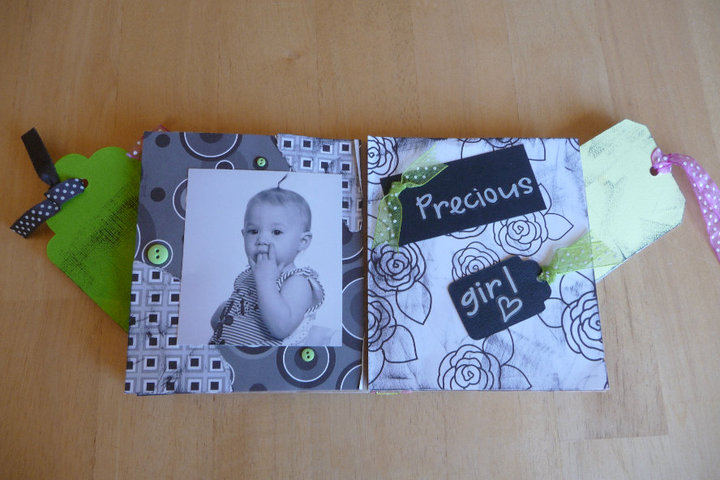
* Cut scrapbook paper to fit paper bag size, cut/tear paper to different sizes (see picture below). Use stamps and ink to decorate paper. When ink is dry glue adhere to paper bag.
* To make pockets using paper to put different things in only adhere sides and bottom of paper to bag, leaving the top open to insert things into.
* To make pockets using paper to put different things in only adhere sides and bottom of paper to bag, leaving the top open to insert things into.
* After paper is glued to bag decorate using embellishments and ribbons.
* Tie ribbins in holes on edge to bind or glue folded edges together and rap with ribbon (see top photo)
* Tie ribbins in holes on edge to bind or glue folded edges together and rap with ribbon (see top photo)
* You can use use small wooden tags or other items to decorate and slide into bag openings.
* Once bag is decorated how you want, add pictures and memorabilia to the bag to finish the project.
No comments:
Post a Comment