Friday, July 1, 2011

Recipe 5: Snicker-doodle Cinnamon Apple Crisp


Ingredients:
No-stick Cooking spray
2 (21 oz) cans of apple pie filling
1 (17.5 oz.) package Pillsbury Snicker-doodle Cookie Mix
3/4 cup old fashioned rolled oats
10 tbs butter, melted
1/2 cup finally chopped pecans or walnuts

prior to baking


Directions:
Heat oven to 350 degrees F.
Coat backing pan with no -stick cooking spray (recipe calls for 9x9 pan but fits better in a 13X9 pan)
Spread apple pie filling evenly in prepared pan
Reserve 1 tablespoon of the cinnamon -sugar mix from box of cookie mix. Mix together with nuts and set aside.
Combine cookie mix, oats and remaining cinnamon sugar mix together in a large bowl.
Stir in melted butter with a fork, until evenly moistened.
Crumble over apple filling
Sprinkle cinnamon-sugar nut mix over crumble mixture and apples
Back 45-48 minutes or until golden brown and filling bubbles on sides of pan.
Cool 15 minutes before serving.
Serve alone or with French Vanilla Ice Cream

Makes 9 servings

* I found this recipe on the back of a box of Pillsbury Snicker-doodle Cookie Mix.

My new house

So for the last few years we had gone back and forth about getting a new house.  And if we got a new house if we should sell our house in Kuna or rent it out. I was scared about having two house payments if we had to go a period of time with no renters or if they just didn't pay. Also terrified of someone else living in my house that I had lived in for several years, we were there 9 years. After trying to sell it a couple of times we decided that we would rent it, since we can ask for more than what the house payment is, Thankfully!! I know a few people that have larger house payments than they can get for rent, I didn't want to be in that same boat. 
Our Home!!

Over the last year or so we found a few houses that we really liked and made offers on them. But something always went wrong: wouldn't accept any of our offers, inspection issues, appraisal came in to low.. you get the idea. Well after this happening several times I was ready to give up and just stay in the house we had. I liked the area, Aubrey was at an awesome school (would love to get a teaching job there) neighbors were great, etc. 
Living room
our furniture doesn't look so huge and out of place now

Well after I decided I was done looking, I was tired of getting my hopes up and then it not happening, our awesome real-estate agent sent us yet another listing, it was a short sale - big red flag went up, ya it was a great price but what was wrong with it and how much money would we have to put into before we could live in it, I have seen and heard stories about how bad short sale, REO and foreclosed homes can be, I didn't want to have to deal with that. But I agreed to go look at it. And I fell in love with it after seeing it just once. It was my favorite house out of all the ones we looked at, even the ones we made previous offers on. And since it was a short sale the price was even better (little less stressed about 2 house payments, especially since I am not working yet). Even better... it was move in ready, we didn't need to do anything (other than put in a fence for the dog). 
Sitting room/reading room

My husband even surprised me with it. He made an offer on it and told me after it was accepted and he knew we would be closing on it that we bought it, thankfully,  cause if I don't think I could have handled another let down. And it even only took 2 months to close on, not the 6 months we were told it normally takes. every thing was working out great for this house, it is in a nice neighbor hood, really nice neighbors, and it is only 5 minutes from my husbands work instead of 20. Lets just say this house was meant to be ours. Every thing happens for a reason right? ABSOLUTELY!@!@!
Office

So we closed at the beginning of May, found a really nice family to rent out our house, talk about weird feeling handing over the keys to your house to people you don't know and leaving them in your house with out you. After 2 months of being in the new house it is finally coming together and feeling like home and that we aren't in the wrong place. (I will admit that when I was headed home there were several times I started to go to the Kuna house.. lol).
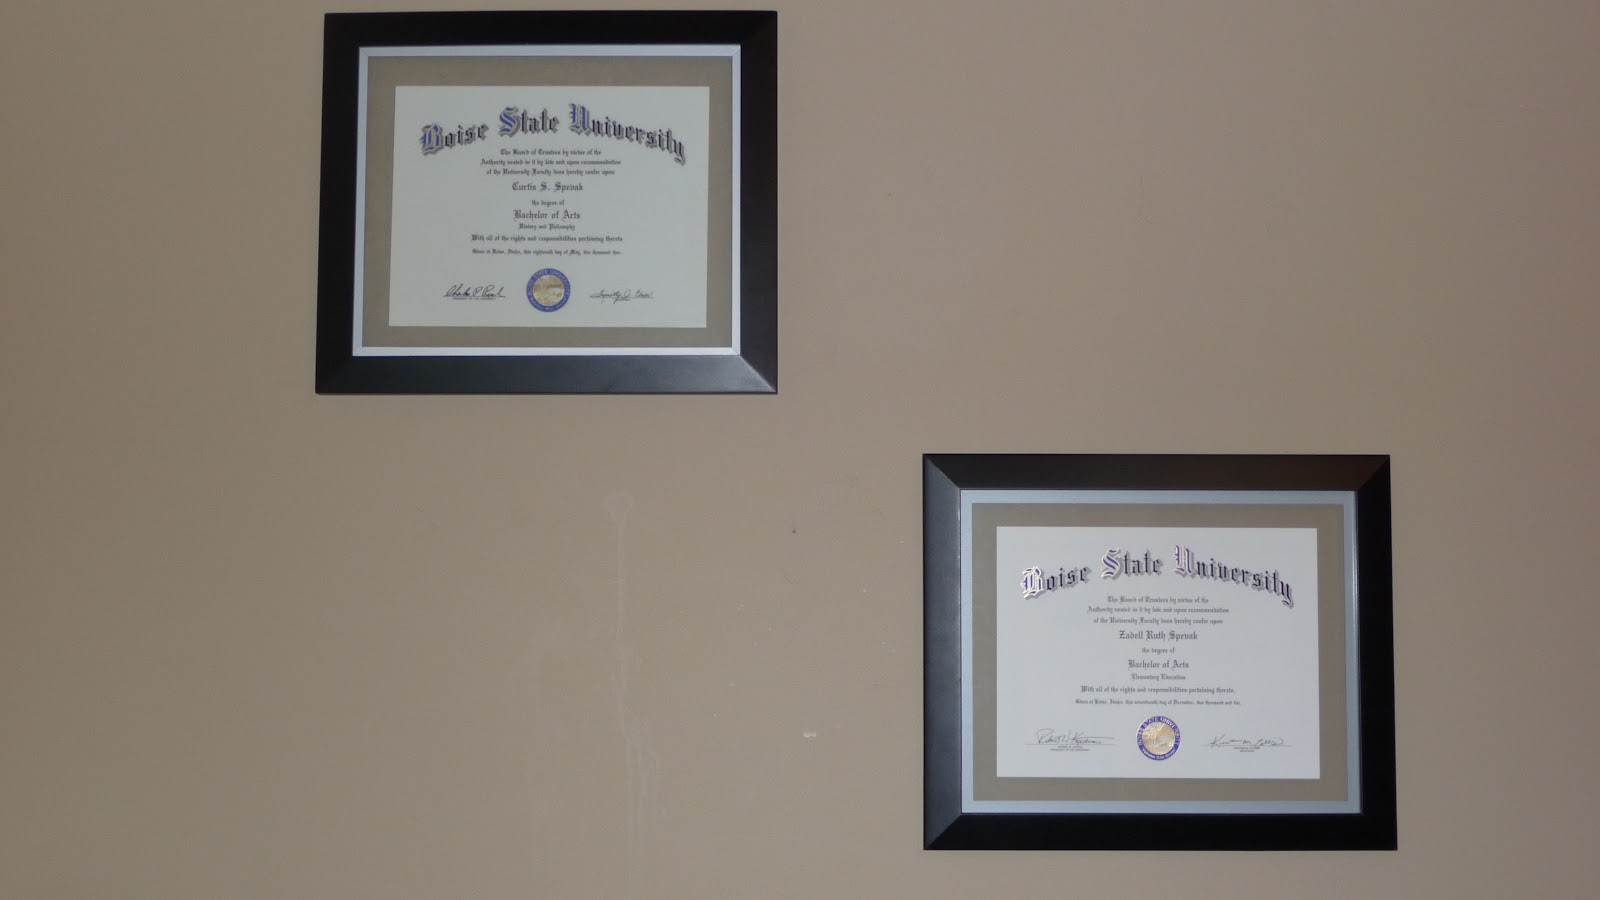
Even enough wall space in the office
to hang both of our diplomas

I love this house, and am thrilled to be here. Next project we are doing (besides the fence for the dog, poor thing has to be tied up right now when we put her out because I am terrified she will run away not thinking that this is her home now. she is a funny dog, she will only go potty at her house even when we are gone for a few days she will hold it till she gets home. she didn't go potty for about a week before she realized we weren't going back to the old house. So glad she got over that pretty fast Yes we actually would take her with us when we went back to the other house before the renters moved in so she could go potty cause I was worried she would get sick since she would go at the new house.) 
kitchen

Well anyway.. my next project is to decorate Aubrey's room and make it a fun little/big girl room instead of the baby room she still had at the other house, because I kept putting off re-painting it for her. She is very excited to get tohelp me decide what we are going to do in it and actually help do it since it is her room.  
Dining Room

Crafty Creations 4: Glass Cube Night Light

I love these! They are great for decorations and practical for little kids rooms where they want a night light. But then when they grow out of it you can still use them for decoration in your home or pass them on to someone else. 

materials:
  • Clear Glass block window cube with hole in one side. 
  • mini string lights (think Christmas lights but the mini ones)
  • pearl iridescent paint
  • paint brush
  • vinyl rub-ons (1 decal &/or 1 word)
  • wide ribbon with wire edges (enough to go around cube and possibly a bow on top. if for boy may not want to include the bow. 
  • hot glue and glue gun


directions:
* Paint glass cube with one thin layer of pearl iridescent paint. you want it thin enough to see the lights shine though.
* let completely dry
* once dry, rub on the vinyl decals on the front of the cube.
* insert mini light strand into hole in cube, letting the cord hang out of cube. 
* wrap ribbon around the edge of cube leaving the whole for the cord open. adhere using hot glue
* if adding bow adhere to with hot glue. 
* let glue dry before plugging in
* plug in and enjoy or give as gift. 


Thursday, June 30, 2011

Crafty Creations 3: BOO!!!

BOO!!!
Fun easy Halloween decoration!!
Materials Needed:
* Unfinished letters: Capital "B", ghost for middle "o" and lower case "o" (if can not find a ghost can use two lower case "o"
* Scrapbook paper (3 different patterns in Halloween colors purples, oranges, lime green colors work great not recommended to use actual Halloween pattern papers)
* black acrylic paint
* black stamp ink pad
* 2 googly eyes of ghost
* multiple color ribbons to go with papers. (blacks, green, purple etc. in different styles and textures)
* craft glue and sponge brush to spread
* cute Halloween stickers or embellishments
* sand paper and moist paper towels

directions:
* lightly sand unfinished wood pieces and wipe off dust with moist paper towel
* trace wood pieces backwards on back of patterned paper. 
* paint wood pieces black
* while wood pieces are drying carefully cut out wood tracings on the paper
* with the black ink rub front side and edges of paper in various spots, trying not to get to black in areas.
* once wood is dried glue patterned paper on the painted wood pieces.
* tie ribbons in various spots on wood in groups (as shown in picture)
* decorate with stickers and embellishments
* if using ghost for middle "o" glue on googly eyes.
* put out as Halloween decoration for friends and family to see!

Crafty Creations 2: Creative Tile Coasters and Tray

When I worked at Craft Warehouse (many years ago) I did a class every Saturday doing these Creative Tiles. Creative Tile Coasters and Trays are probably the easiest to make. They are A LOT of work but very worth the process. It has been a while since I have done one. They make great house decorations and gifts. And you can actually use them as coasters and trays.

to get antiqued look on box after base paint dries use antique gel  (brown or black) and swipe across box using paper towel or gauze (not recommended to use paint brushes). for antique look on coaster after cut paper to correct size  use an antique stamp ink pad to rub in areas and around edges of paper prior to adhering to coaster. flowers on box are cut out from matching scrapbook paper to the paper used on the coasters with an antique brass brad through the center, using same process as the coaster paper for antique look. 
Materials needed:
Unfinished wood coaster set
Unfinished wood tray
Sand paper
Moistened gauze (cant remember what it is called, its been a while since I have gotten it) 
EnviroTex Lite pour-on high gloss finish
scrapbook paper and embellishments
acrylic paint
lighter (with a long nose)
craft glue (that is spreadable and scrapbook safe)
sponge paint brushes
plastic cups (disposable)
plastic measuring cup (that can be thrown away)
wood craft sticks

to get sponged look on tray and coaster box after paint dried on both dip the gauze in white paint and dab it on box. flower in tray is a white silk daisy with a yellow button glued on in the middle. white flowers on the box are cut out from matching scrapbook paper to the papers used in the tray and on coasters. tray and coasters have matching paper but are not the same paper. 


directions:
* lightly sand unfinished wood pieces with sand paper
* using gauze wipe off any dust on wood pieces
* paint all surfaces of wood that will be seen. (can paint all surfaces if that is easier) let dry completely
* cut scrapbook paper to size of area you are going to be covering with the paper (top of coasters &/or inside of tray)
* using sponge paint brush apply glue to entire area that will be covered with paper. immediately put paper on glued area before glue dries. 
* apply embellishments to tray (not recommended to put on coasters if you are going to actually use them as coasters and not decorations)
* after coasters and tray are decorated and completely dry prop up on plastic cups  that are placed upside down. one cup for each coaster and 2 cups for tray (make sure to use cups you plan on throwing away)
* mix the two liquids of the EnviroTex together in the plastic measuring cup. Mix equal parts. stir together with wood craft stick. stir together according to directions on box.
* poor the mixture over the coasters and in tray. 
* using a wood craft stick spread the mix over the coasters and tray. (there will be a lot of bubbles, you will get rid of them soon)
* once the mix is spread out use a stick to scrape the bottom of the coasters to prevent build up on the underside. this step is not necessary for the tray
* with the lighter run the flame over the top of the coaster and tray. avoid holding to close to item or in one spot to long to avoid dark spots. 
* continue last 2 steps until the air bubbles are gone and stops dripping on sides to underside of coaster. 
* once air bubbles are gone and no longer dripping on sides cover with box to keep dust from settling on items. (recommend doing this project in a place where you can leave them to sit 24 hours with out moving or being disturbed)
* let sit covered for 24 hours. then enjoy using them or decorating your home with them. 


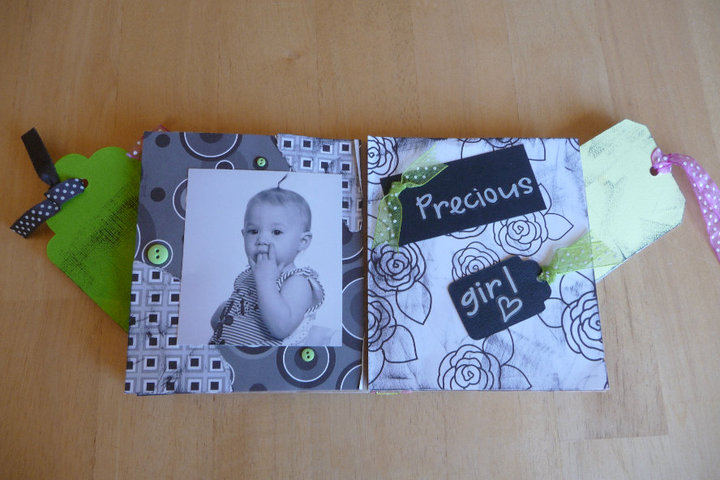
Crafty Creation 1: PaperBag Book

Aubrey~ 1 year~ 2005
   This project is easy & fun to do. It is great for special memories that you want to scrapbook, or as gifts. This is an awesome way to share your memories with loved ones!                                             
Materials needed:
2-4 lunch size paper bags
Scrapbook paper
Scrapbook embellishments and ribbons
Stamps and inks
Pictures
Scrapbook safe adhesive
Scrapbook or wooden tags


Directions:
* Stack all the bags together alternating the direction of the opening (every other bag should open to the left or right)
* Fold the stack of bags in half, hole punch the folded edge 2-5 times to bind together when finished.
* Cut scrapbook paper to fit paper bag size, cut/tear paper to different sizes (see picture below). Use stamps and ink to decorate paper. When ink is dry glue adhere to paper bag.
* To make pockets using paper to put different things in only adhere sides and bottom of paper to bag, leaving the top open to insert things into.
* After paper is glued to bag decorate using embellishments and ribbons.
* Tie ribbins in holes on edge to bind or glue folded edges together and rap with ribbon (see top photo)
* You can use use small wooden tags or other items to decorate and slide into bag openings.
* Once bag is decorated how you want, add pictures and memorabilia to the bag to finish the project.


Wednesday, June 29, 2011

I am back.. Hopefully!!!

Well it has been a while since I have been on here. A lot has happened since the last time I posted anything.
*I worked with Kindergartens doing kindergarten interverntion for about 4 months at a school in Kuna. I also worked with 1st and 3rd grades doing Progress Monitoring for the IRI (for those who are not aware of what the IRI is.. it is the Idaho Reading Indicator, a test that students take in grades K-3 to test their reading fluency. I worked with them to practice their fluency to get ready for the test.)
*I subbed for the last 2 weeks of school for a friend of mine at the same school in one of the kindergarten classes I worked with. I LOVED IT!!! I can honestly say I did not make a mistake in finally getting my degree in what I have always wanted to do. I am looking forward to actually having a class of my own here soon. Hoping that I will be able to find a teaching job this coming school year. Otherwise I will be subbing until I do.
*We bought a new house in Meridian and started renting out our house in Kuna.
*Aubrey was moved up in her gymnastics, so she is now going more days for longer periods of time.
*Aubrey ran the Capital Classic again this year. Her 3rd year running and she loves more each time. Her time this year was 11:08 (more than 2 mins faster than last year) and she got 231/639 girls. She runs it each year with her aunt. I was told this year I could not run it with them so I watched my nephew while they ran it
*I have been taking some pictures when we have gone to the parks and out for walks. This includes family pictures for my cousin and his family.
So we have been staying pretty busy so far. Now that summer is here we have been spending a lot of time outside enjoying this beautiful weather that we have finally gotten.

So this is our last 3 months summed up for you. Will be back soon.